
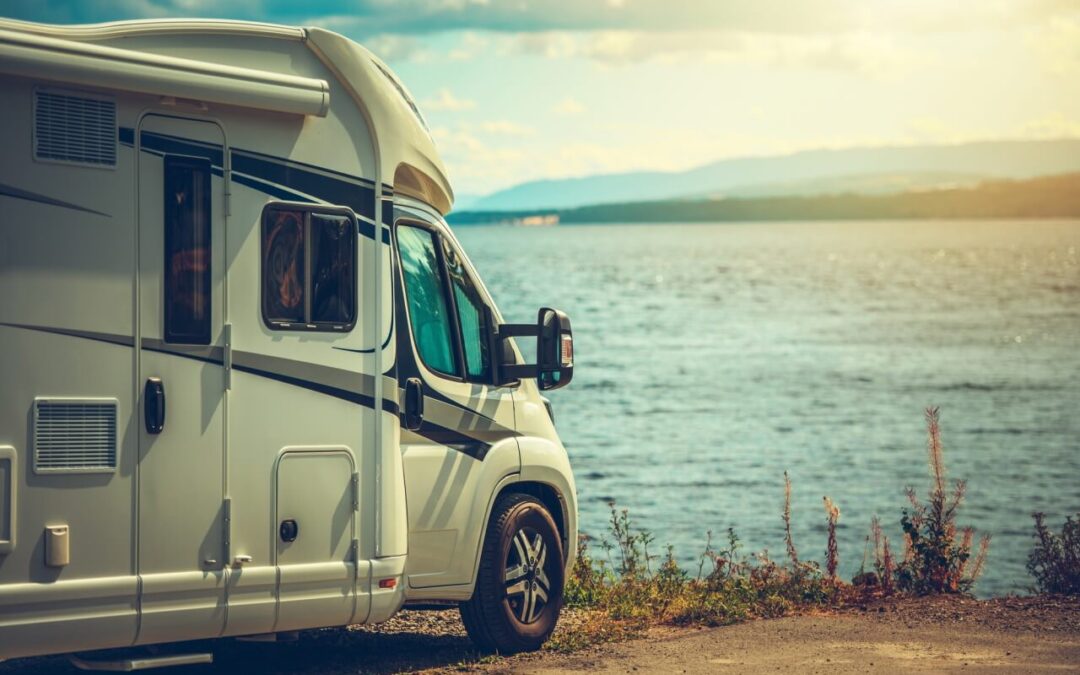
Setting up your RV at camp is a skill that gets faster and more intuitive with each trip. But the first few times, it’s the combination of steps that catches new RVers off guard when they’re tired from driving and ready to relax. A systematic approach to setting up your RV prevents the frustrating sequence of discovering that the stabilizers are down before the rig is level, that the sewer hose is connected before the slides are out, or that the water pressure regulator was forgotten inside when the hookup is already in progress. The campers who set up quickly and confidently aren’t doing anything complicated; they’re following the same sequence in the same order every time, which is the habit that converts a multi-step process into a smooth, predictable routine.
Setting Up Your RV Starts Before You Open the Door
Before any hookup, slide, or leveling step begins, getting the rig correctly positioned in the site is the foundation that every subsequent step depends on. Pulling forward to the approximate final position, checking clearances on all sides for trees, posts, and neighboring rigs, and confirming the sewer connection point is accessible from the appropriate side of the rig before shutting off the engine saves the frustration of completing setup only to discover the rig needs to be repositioned. On sites with a significant slope, identifying which end is higher before leveling determines whether front-to-back or side-to-side leveling comes first, a setup detail that most new RVers learn from experience rather than from the manual.
Getting Set Up Right Before Hookups
Leveling is the step that must happen before stabilizing, because stabilizers are designed to prevent movement in a level rig, not to level an unlevel one. Using leveling blocks under low-side tires or the rig’s built-in automatic leveling system to achieve a level front-to-back and side-to-side position first, then deploying the stabilizing jacks to eliminate the rocking that foot traffic inside the rig produces, is the correct setup sequence. A bubble level or the rig’s onboard display confirms when the position is correct before the slides are extended, extending slides on an unlevel rig can cause slide mechanism stress and seal wear over time.
Final Steps for Setting Up Your RV
With the rig level and stabilized, the hookup sequence is the setting up your RV phase that connects the rig to the site’s utilities. Electrical connection comes first, shore power connected and confirmed before any 120-volt appliances are used. Water connection with a pressure regulator and inline filter protects the rig’s plumbing from the high pressure and sediment that campground water supplies can deliver. Sewer connection last, after water is flowing and confirmed, with the gray valve open and the black valve closed until the tank is at least two-thirds full to ensure adequate liquid for a complete flush. Extending the awning, setting out the outdoor mat, and placing camp furniture completes the setting up your RV exterior routine that transforms the site from a parking space into a campsite.
Semper Fi RV provides RV Inspections and RV services across Northern Utah. To schedule an RV inspection or other RV services, contact us.